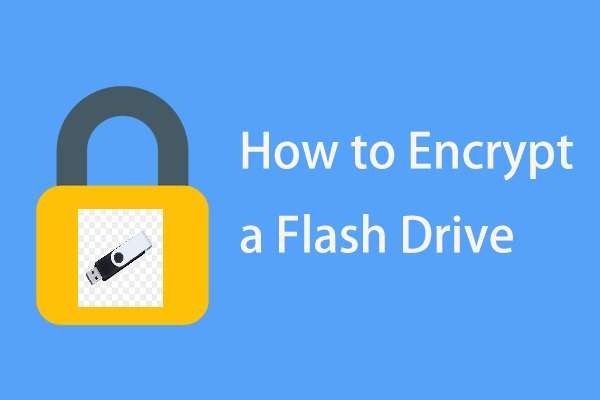
In today’s digital age, keeping your data secure has never been more critical. One way to secure your data is by encrypting it. Encryption is the process of converting data into a code or cipher that is difficult to understand without the right key or password. Encrypting a flash drive is a great way to keep your sensitive data safe, whether it’s personal or professional. In this article, we will look at how to encrypt a flash drive.
Step 1: Choose the Right Encryption Software
The first step in encrypting a flash drive is to choose the right encryption software. There are many encryption software programs available online, some of which are free, and others that require payment. Some popular encryption software programs include VeraCrypt, BitLocker, and 7-Zip. When choosing encryption software, make sure it’s compatible with your operating system and is reputable.
Step 2: Backup Your Data
Before you begin the encryption process, it’s essential to back up your data. Encrypting your flash drive will erase all the data on it, so it’s essential to create a backup copy of your files. You can either copy your files to your computer or create a backup copy of your flash drive.
Step 3: Insert the Flash Drive
Once you’ve chosen the right encryption software and backed up your data, it’s time to insert the flash drive into your computer’s USB port. Wait for your computer to recognize the flash drive, and then proceed to the next step.
Step 4: Start the Encryption Process
Open your chosen encryption software and select the flash drive you want to encrypt. Depending on the encryption software, you may be asked to select the encryption algorithm, the key size, and the password. It’s important to choose a strong password that is at least 12 characters long and contains a mix of uppercase and lowercase letters, numbers, and symbols. Once you’ve selected the encryption settings, click on the ‘Encrypt’ button.
Step 5: Wait for the Encryption Process to Finish
The encryption process can take some time, depending on the size of your flash drive and the encryption settings you’ve chosen. It’s essential to wait for the encryption process to finish before removing the flash drive from your computer. Interrupting the encryption process can result in data loss or corruption.
Step 6: Verify the Encryption
After the encryption process has finished, it’s essential to verify that the flash drive has been encrypted successfully. Open the encryption software and select the flash drive. You should see a message indicating that the flash drive is encrypted. Try to open some of the files on the flash drive to make sure they are not accessible without the password.
Step 7: Safely Eject the Flash Drive
Once you’ve verified that the flash drive has been encrypted successfully, it’s time to safely eject the flash drive from your computer. Right-click on the flash drive icon and select ‘Eject’ from the context menu. Wait for the computer to confirm that it’s safe to remove the flash drive, and then remove it from the USB port.
Conclusion
Encrypting a flash drive is an essential step in keeping your sensitive data safe. By following the steps outlined above, you can encrypt your flash drive easily and effectively. Remember to choose the right encryption software, back up your data, choose a strong password, and wait for the encryption process to finish before safely ejecting the flash drive. With these steps in mind, you can keep your data secure and give yourself peace of mind.


